There Are Valuable Life Lessons in Disney Movies to Teach Children

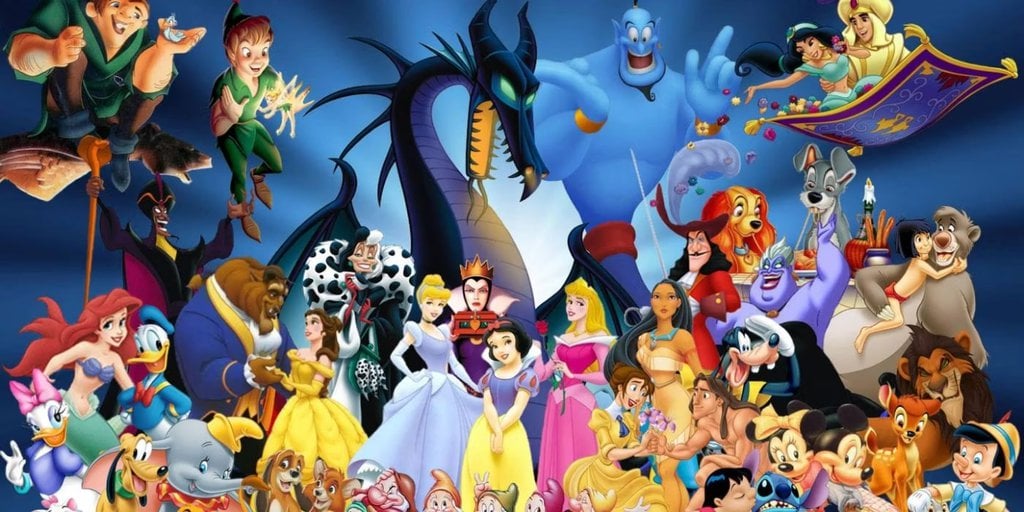
Every generation has a favorite Disney movie or several they like to rewatch every once in a while. But there’s more to sitting and watching when you want some relaxing, fun movie for the evening. They also teach us all valuable life lessons. Although many have figured out those lessons later in life, it’s never too late to pass them on to the children in hopes they’ll embrace them!

There Are Valuable Life Lessons in Disney Movies to Teach Children

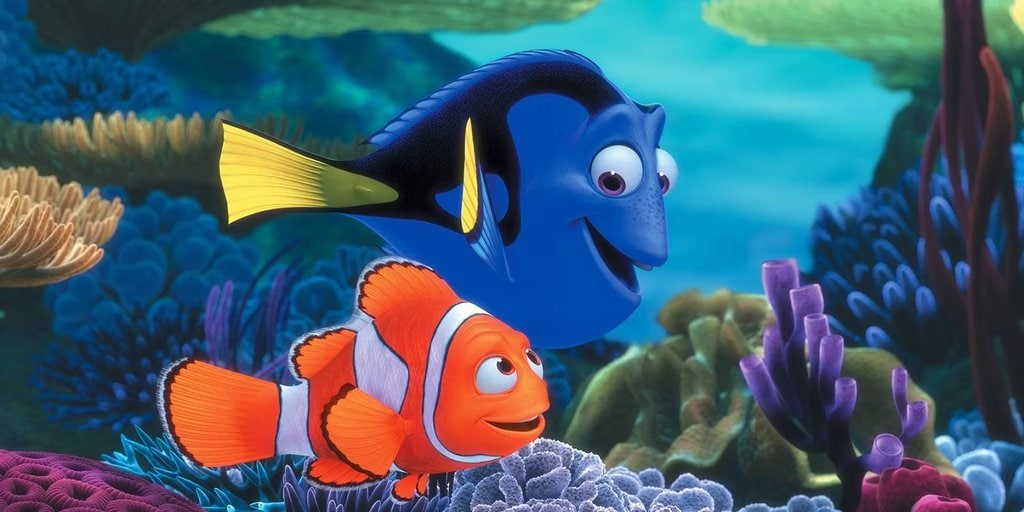
Face the Fear Like Nemo

In one Disney classic, Finding Nemo, we’re taught to face our fears and persevere no matter what. Marlin, Nemo’s father, loses him and has to swim through the ocean and all its dangers with his buddy, Dori, to try and find him. He’s a small fish and can’t do much about large sharks or divers that want to catch him, but he goes on! Teach your children to be like Nemo’s dad – go through life and succeed, no matter what happens and how much it may scare them!

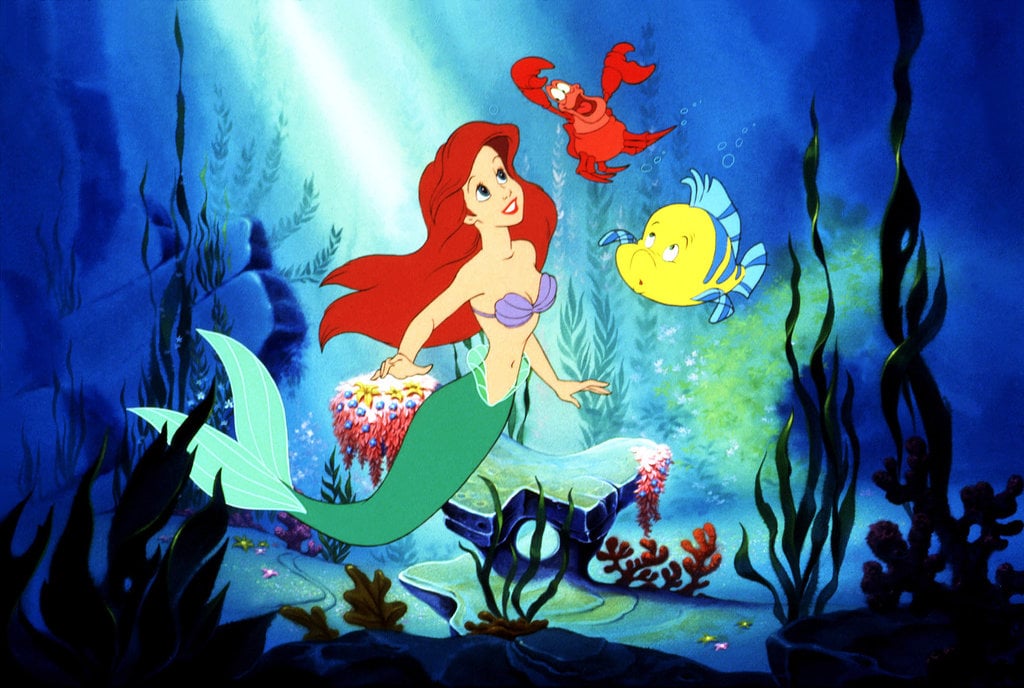
Wield the Most Powerful Tool

In The Little Mermaid, there are good and bad lessons, but one important one would help every child be strong and fight for what they believe. We’re told our voice is the most powerful tool we can wield. If you have your voice and speak up when you have something to say, there’s not much that can stop you from succeeding!

Disney Teaches People to Embrace Themselves

Perhaps one of the most important lessons came from the classic movie Beauty and the Beast. We must embrace ourselves, even if no one else does. Belle reads a lot, and people think that’s strange. But she doesn’t care. She continues to be herself throughout the movie, no matter what people say about her. That’s something every child should learn – to do what makes them happy and not care what others will say!

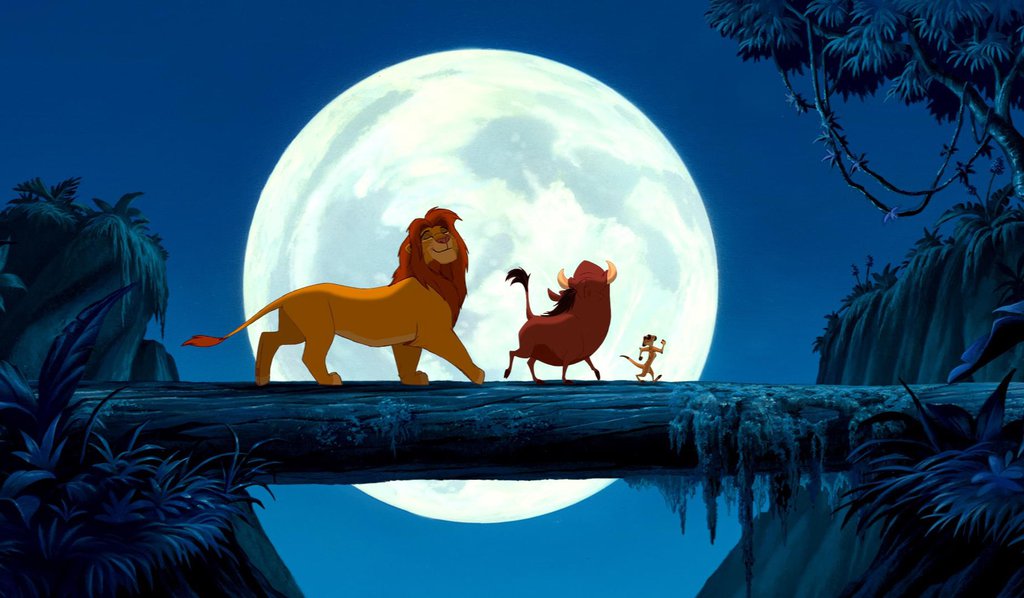
Small Stuff Shouldn’t Get in the Way

Another fantastic Disney movie, The Lion King, teaches us that things happen in life and we shouldn’t be bothered by every little thing. When Timon and Pumba sing “Hakuna Matata”, which means “No Worries” in Swahili, their message is that people shouldn’t let the small stuff keep them down. They should embrace every aspect of life, good or bad, and push through!

Something we can take from Disney movies is that things in life aren’t always as bad as they seem, and we have to pull ourselves together and do what makes us happy. Teach children to embrace themselves, face their fears, make their voices heard, and continue living life to the fullest, even if bad things happen!

Building an Easy DIY Birdhouse: Plans & Tips for Beginners

It’s in human nature to want to build stuff now and then. Some take it to a professional level and make their living out of it and some are just sticking to assembling Ikea furniture. If you’re the second kind and want to take it to the next level, a birdhouse is a great idea. It can be used to attract swallows, bluebirds, chickadees, warblers, nuthatches, woodpeckers, wrens, and other birds in your backyard or garden.

Building an Easy DIY Birdhouse: Plans & Tips for Beginners

Building a Simple DIY Birdhouse

The following plans require just a single board and only a few tools. It’s perfect for beginners and it’s guaranteed fun. Here’s what you need:

  • Wood
  • Screws
  • Power Drill
  • Handsaw
  • Drill bit

Step 1. Cut the Board

Cut the 1×6 board as shown in the plan below. We also recommend sanding all pieces. This is not a necessary step, but it delivers a better result. Cedar and pine are great materials options.

Step 2. Drill the Entrance Hole

Using a spade bit or Forstner bit, drill a 1.5-inch hole 4 inches off the floor. 1.5 inches is the optimum diameter for bluebirds and tree swallows, but bigger birds such as nuthatches, warblers, woodpeckers, chickadees, and wrens can also make this birdhouse their home.

Step 3. Pre-Drill Pilot Holes

To prevent the wood from splitting later, you should drill pilot holes and ideally, those holes should be at least as large as the screw’s minor diameter.

Step 4. Assemble the Sides & Floor

Get your glue (waterproof wood glue is recommended, but regular will do the job as well) and screws ready to attach the back to the floor of the birdhouse. Then, repeat the same process with the sides and front of the nest box. Using trim screws is better as their head is less obvious and also helps prevent the wood from splitting.

Step 5. Assemble the Roof

One of the top panels is ¾ less than the other panel but when you attach them, the overhand will be the same on both sides. After the sides are fastened together, attach the roof to the birdhouse using only screws. This is important as you can easily open it in the future for cleaning.

Finish up the house by drilling several ¼ holes in the floor.

Step 6. Painting & Hanging

Choose a color of liking and apply some sort of finish. We recommend linseed oil as it helps accentuate the grain and also helps make the wood more resistant to the outside elements. As soon as everything dries, you can mount the birdhouse anywhere you like.

Building a birdhouse is not only a fun DIY project but also encourages birds to move in and raise families in your backyard, hence providing you with natural pest control.